Last week I joined the company of about a million others and became the proud owner of a Raspberry Pi. I got it just for fun; write some software and maybe make use of the GPIO ports.
I already knew I wanted to do something Eclipse related with this quite capable device, so why not run Eclipse Orion (Tools for the web, on the web) on it? During my research I discovered that someone already did that. Ken Walker of IBM Canada/Orion Project even demonstrated such a set-up as a teaser for a talk at last year´s EclipseCon Europe. Now he used the Node.js port of Orion – I had in mind to use the full package. Note that Ken also has a talk on the subject at this year’s EclipseCon in Boston.
Installing Linux
Support for software floating point is required for Java; so we have to pick a Linux distribution that provides this. The Soft-float Debian “wheezy” is a good choice. Note that I had trouble getting the image downloaded from the torrent to work. The direct download of the zip file was OK. Compare the SHA1 hashes to make sure.
torkild@Isis:~$ openssl sha1 Downloads/2012-08-08-wheezy-armel.zip
SHA1(Downloads/2012-08-08-wheezy-armel.zip)= db28d031d5f925a667c2a478c638222d9b405d5a
Now we need to write the disk image to the SD card. First you must figure out where the card is mounted. On my MBP this is /dev/disk2. We must first unmount it. Note that these instructions are for OS X, if you’re on Linux there are some differences. If you’re on Windows you’re on your own. Sorry about that.
torkild@Isis:~$ diskutil unmountDisk /dev/disk2
We can now write the image. Execute the command below and be prepared to wait for quite a while. All depending on the performance of your SD-card.
torkild@Isis:~$ sudo dd bs=1m if=Downloads/2012-08-08-wheezy-armel.img of=/dev/rdisk2
When done, insert the SD-card, connect the Ethernet cable and USB power. The green LED should start blinking and after a while all LEDs should be on. This means you should be able to log into a shell on the device. First you need to figure out it’s IP-address. You can do this from the terminal if you have a screen and keyboard hooked up. I used the nifty iNet iOS application for that and found 192.168.1.105.
torkild@Isis:~$ ssh -l pi 192.168.1.105
Enter the default password (“raspberry”) and you should be greeted with a welcome message. The shell prompt will also change, indicating that you’re now logged in as pi on raspberrypi. We should start with some initial setting up.
Install mDNS
Now, would it not be nice if we could access the Raspberry Pi without having to remember it’s IP-address (and without having to set up a DNS server)? We can do this by making use of multicast DNS (mDNS).
pi@raspberrypi ~ $ sudo apt-get install avahi-daemon
Now the Raspberry Pi can be accessed using it’s name. Try it:
torkild@Isis:~/git$ ping raspberrypi.local
PING raspberrypi.local (192.168.1.105): 56 data bytes
64 bytes from 192.168.1.105: icmp_seq=0 ttl=64 time=52.174 ms
64 bytes from 192.168.1.105: icmp_seq=1 ttl=64 time=1.380 ms
Upgrade software and kernel
Things move fast in the open source world so the software that comes with the Raspberry Pi is unlikely to be up to date. Hence we should upgrade to the latest version of both the software and the kernel.
pi@raspberrypi ~ $ sudo apt-get update
pi@raspberrypi ~ $ sudo apt-get upgrade
Expand root partition
In order to make more room we can make the root partition expand to fill the entire SD-card, start raspi-config. Select expand_rootfs then exit and reboot.
pi@raspberrypi ~ $ sudo shutdown -r now
Wait a bit and log in again. The root partition should be much larger than the 1.8GB default.
pi@raspberrypi ~ $ df -h
Filesystem      Size  Used Avail Use% Mounted on
rootfs           15G  1.4G   13G  10% /
...
Configure RAM
If you got your Raspberry Pi recently you probably have one with 512MB RAM, but all of that memory is not necessarily available. Check the memory chip to see which type you have and run free -h to see if the memory is there. My Raspberry Pi is a 512MB variant, but reported only 231MB available. In order to fix this we need to update the firmware. Thankfully we can make use of a nice script to do this.
pi@raspberrypi ~ $ sudo -i
root@raspberrypi:~# rm -rf /boot/*.elf /boot/*.bin /boot/*.img
root@raspberrypi:~# apt-get install git
root@raspberrypi:~# wget http://goo.gl/1BOfJ -O /usr/bin/rpi-update && sudo chmod +x /usr/bin/rpi-update
root@raspberrypi:~# rpi-update
As we’re going to use the Raspberry Pi without a graphical user interface it may be a good idea to limit the GPU memory to 16MB, this will allow applications to use more. Edit /boot/config.txt and add gpu_mem=16 to the bottom of the file. Now we need to restart again. After the device has booted we should see a lot more memory.
pi@raspberrypi ~ $ free -h
             total       used       free     shared    buffers     cached
Mem:          485M        74M       411M         0B        10M        31M
-/+ buffers/cache:        32M       453M
Swap:          99M         0B        99M
Install Java
At this point we’re ready to start installing the additional stuff. The Oracle download pages have been cleverly designed so that they are pretty impossible to use with a command line client. Hence you’ll have to pick the archive using your favourite web browser and transfer it to your Raspberry using SSH. Download the Java SE Embedded 7 , EABI, VFP, SoftFB ABI, Little Endian version and transfer it.
torkild@Isis:~$ scp Downloads/ejre-7u10-fcs-b18-linux-arm-vfp-client_headless-28_nov_2012.tar.gz pi@192.168.0.9:~/
You should know how to log into the Raspberry Pi by now. Do that again (unless you’ve cleverly kept the terminal window open) and execute the following:
pi@raspberrypi ~ $ tar -xvzf ejre-7u10-fcs-b18-linux-arm-vfp-client_headless-28_nov_2012.tar.gz
pi@raspberrypi ~ $ sudo mv ejre1.7.0_10 /usr/local/
pi@raspberrypi ~ $ sudo ln -s /usr/local/ejre1.7.0_10/bin/java /usr/local/bin/
pi@raspberrypi ~ $ sudo ln -s /usr/local/ejre1.7.0_10/bin/keytool /usr/local/bin/
pi@raspberrypi ~ $ java -version
The last command should reveal something like this:
java version "1.7.0_10"
Java(TM) SE Embedded Runtime Environment (build 1.7.0_10-b18, headless)
Java HotSpot(TM) Embedded Client VM (build 23.6-b04, mixed mode)
NICE!
Installing Eclipse Orion
Eclipse Orion can be found at the projects website. I picked the 1.0 release for 32-bit Linux and downloaded it to my workstation. Use scp again to copy it to your home folder on the Raspberry Pi.
Eclipse Orion can launch stand-alone websites, which is quite useful for testing your work. However we need to use virtiual host names for these sites. This is done by setting the orion.site.virtualHosts property in the server configuration file. Create a file named orion.confand add the following:
orion.site.virtualHosts=*.raspberrypi.local
All sites will now be created on the form .raspberrypi.local. We’re going to start the “Hello World” example project so we’ll need a CNAME alias for this:
pi@raspberrypi ~ $ sudo apt-get install python-avahi
pi@raspberrypi ~ $ sudo wget https://gist.github.com/raw/4645066/64b8ad371b0cad5784e162b8382de0d4786317e6/avahi-alias.py -O /usr/local/bin/avahi-alias.py && sudo chmod a+x /usr/local/bin/avahi-alias.py
pi@raspberrypi ~ $ avahi-alias.py hello.raspberrypi.local &
Now we’re ready to start Eclipse Orion
pi@raspberrypi ~ $ unzip eclipse-orion-1.0-linux.gtk.x86.zip
pi@raspberrypi ~ $ java -jar eclipse/plugins/org.eclipse.equinox.launcher_1.3.0.v20120522-1813.jar
It will take some time to start. When everything looks good, open your web browser and enter the address to the running Eclipse Orion instance. It’s running on port 8080 (http://raspberrypi.local:8080/). You should be greeted by a welcome page. Create an account and log in.
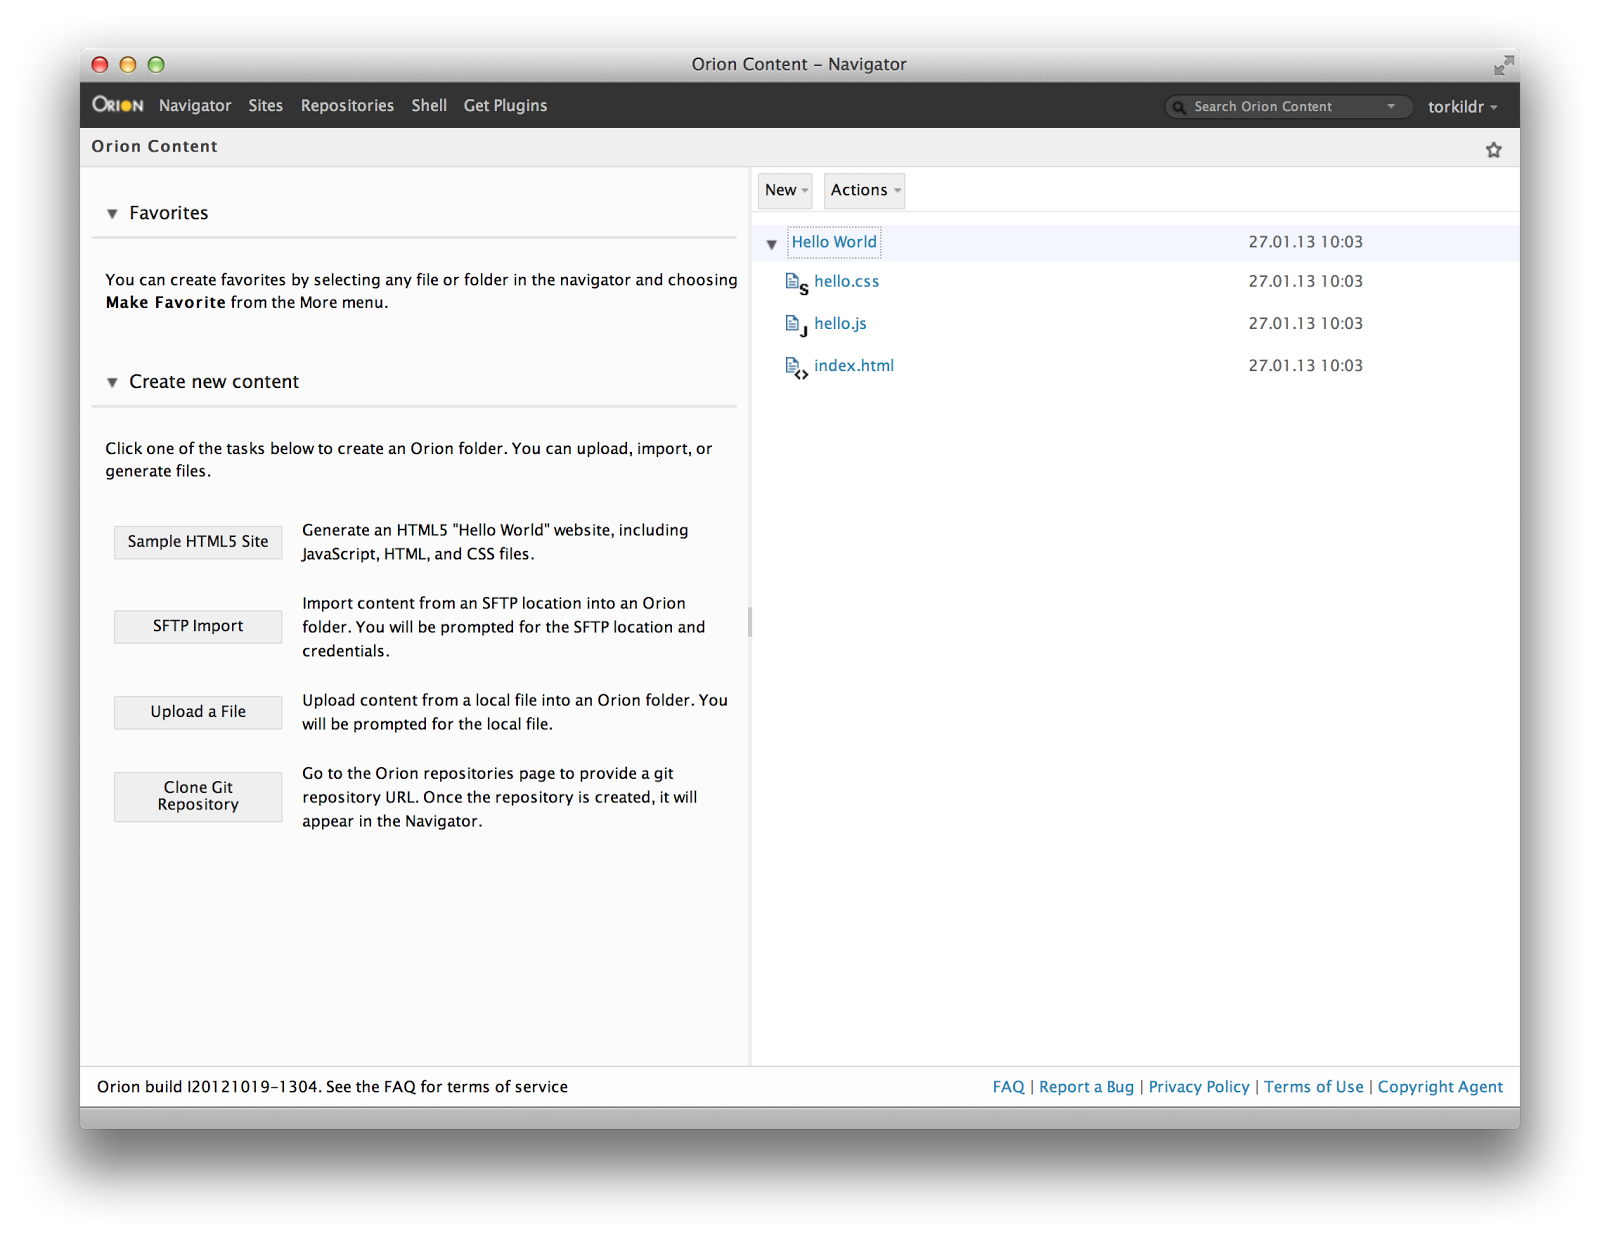
Click Sample HTML5 Site and leave the defaults as they are. Simply click Submit in the dialog that pops up. Now go to Sites and create a new site. Name this one “hello” and add the “Hello World” project to it. You can now start the site and view the example project using http://hello.raspberrypi.local:8080/index.html.
That was fun! Now it’s time to read getting started with Orion…